
When working in Pro Tools, there are times you might want your track’s timeline to start before the standard bar 1. This is especially useful for pre-rolls, count-ins, pickup notes, or aligning with external timecode references. By default, Pro Tools begins musical time at Bar 1 | Beat 1, but with the right adjustments, you can start at a negative bar position so your song begins after some pre-measure space.
This guide will break down exactly how to do it, why you’d want to, and the best practices for making it work in different scenarios.
Understanding the Pro Tools Timeline
Before jumping into the steps, it’s important to understand how Pro Tools’ timeline works. Pro Tools has multiple timebases, such as:
-
Bars|Beats – Measured in musical time, great for music production.
-
Minutes:Seconds – Measured in absolute time.
-
Samples – Frame-level accuracy for audio editing.
-
Timecode – For film, TV, and post-production sync.
In Bars|Beats mode, the timeline starts at 1|1|000 (Bar 1, Beat 1, Tick 0). This is the absolute zero point in a music grid.
However, Pro Tools does allow for negative bars by shifting the session start time or using the Bar|Beat Marker to move where “Bar 1” is located. This essentially creates room before your official song start.
Why You Might Want a Negative Bar Start
Pro Tools’ default start point works fine for many projects, but having negative bars is incredibly useful in specific scenarios:
-
Pickup Notes (Anacrusis)
If your song starts with a lead-in before the first downbeat, negative bars give you space for those notes without shifting the main grid. -
Pre-Roll for Recording
Having a count-in of 2 or 4 bars before the main song starts helps musicians get ready before recording begins. -
Tempo Changes and Click Track Alignment
If you want your click to start before the actual arrangement, you can place the downbeat at Bar 1 and have click play in the negatives. -
Film Scoring Synchronization
Sometimes a cue starts a little after the video’s sync point. Negative bars let you line up cues without disturbing your main bar numbers. -
Importing MIDI or Audio with Pre-Data
Many MIDI sequences have data that occurs before the first downbeat; negative bars allow proper import without trimming.
Step-by-Step: Setting a Negative Bar Start in Pro Tools
Here’s how to set up negative bars in Pro Tools.
1. Enable the Bars|Beats Ruler
-
Go to View > Rulers and make sure Bars|Beats is checked.
-
This ensures you’re working in musical time rather than only minutes:seconds.
2. Show the Tempo Ruler
-
Go to View > Rulers > Tempo to make sure you can adjust tempo-related markers.
3. Create a Bar|Beat Marker at Your Song’s True Start
-
Move the cursor to where you want Bar 1 to be.
-
Press Cmd+I (Mac) or Ctrl+I (Windows) to open the Identify Beat dialog.
-
Set it to Bar 1 | Beat 1.
-
Pro Tools will automatically create negative bars to the left of this point.
4. Add Your Pre-Roll or Count-In
-
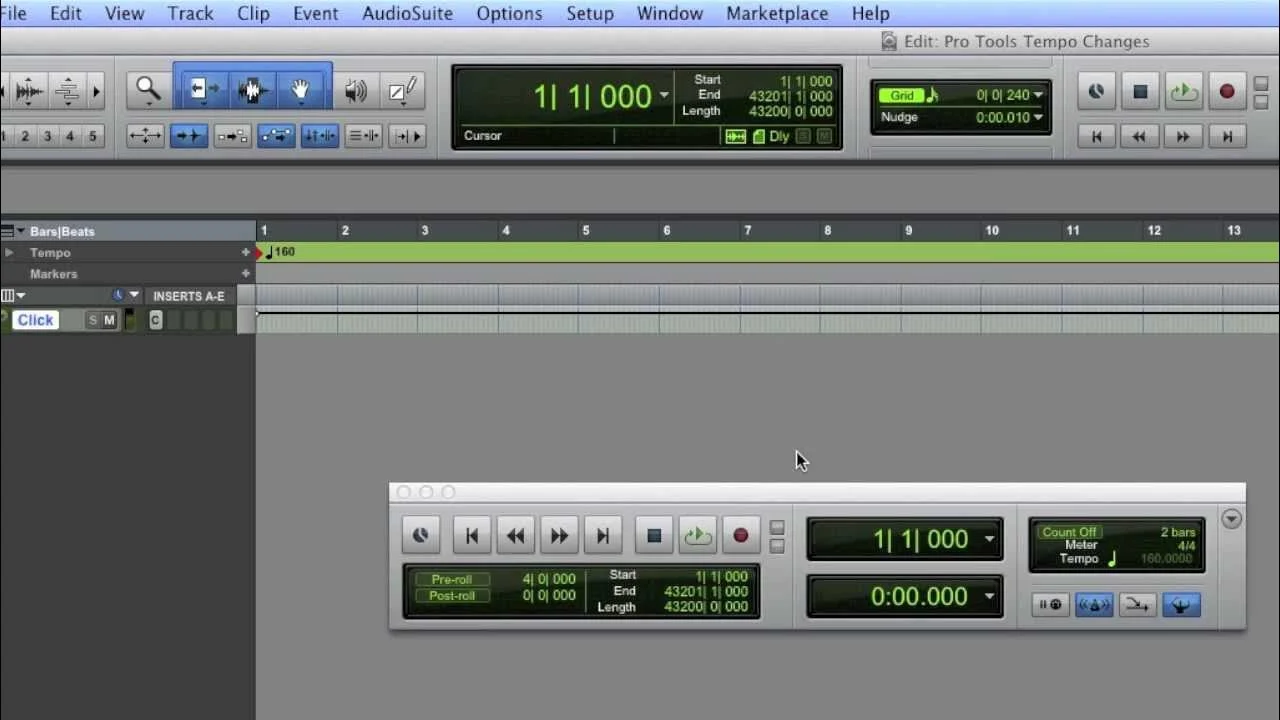
Go to the Transport Window (press Cmd+1 on numeric keypad for Mac, Ctrl+1 for Windows).
-
Enable Pre-Roll and set it for the number of bars you want.
-
The negative bars will now act as your pre-roll area.
5. Adjust the Session Start Time (Optional for Timecode Work)
-
If syncing to external devices, go to Setup > Session.
-
Change the Session Start time to an earlier point (for example, 00:59:50:00) so your Bar 1 sits exactly where needed.
Tips and Best Practices for Using Negative Bars
Negative bars are extremely useful, but if used incorrectly they can create confusion for collaborators. Here are some best practices:
-
Label the Session Clearly
If you’re sending the session to another engineer, make a note in the session name or comments that it starts at negative bars. -
Avoid Overcomplicating the Grid
Don’t push Bar 1 too far into the song; otherwise, your session will have an unnecessarily long negative section. -
Keep the Tempo Map Intact
Always set your tempo markers before creating the Bar 1 offset to prevent unintended tempo shifts in the negative area. -
Print a Click Track if Exporting
If you plan to send stems to someone not using Pro Tools, bounce a click track including the negative bars to ensure they understand the timing. -
Use Memory Locations for Navigation
Create markers for “Count-In Start,” “Song Start,” and “Chorus” so you can quickly jump around without scrolling through negative space.
Troubleshooting Common Issues
Sometimes setting up negative bars in Pro Tools doesn’t go as planned. Here’s how to fix the most common issues:
Problem 1: Negative Bars Not Appearing
Solution:
You must use the Identify Beat function to shift the Bar 1 location. Simply scrolling left will not create negative bars.
Problem 2: Tempo Map Shifts
Solution:
Ensure your Conductor Track is enabled and that tempo changes are placed correctly. If tempo moves when setting the new Bar 1, undo and lock the tempo first.
Problem 3: MIDI Out of Sync
Solution:
Check your MIDI Real-Time Properties and make sure that your negative bars don’t cause your MIDI notes to fall outside the track’s visible range. If necessary, move the MIDI clip closer to the new Bar 1.
Problem 4: SMPTE/Timecode Misalignment
Solution:
If working in post-production, always adjust Session Start Time in the Session Setup window so both musical and absolute time lines match.
Final Thoughts
Making a Pro Tools track start at a negative bar is not just a neat trick—it’s an essential workflow tool for music production, film scoring, and complex MIDI arrangements. By learning how to use Identify Beat, setting Bar 1 exactly where you need it, and managing your tempo map carefully, you can create professional sessions that are organized, musician-friendly, and perfectly aligned with external sync points.
When done right, negative bars give you space before the downbeat without compromising the structure of your project. Whether you’re adding a count-in for a live recording session or syncing music to picture, this method ensures you start exactly where you want—no rushed intros, no awkward edits, just smooth, intentional timing.